Build NFT App with Alchemy
Table of contents
No headings in the article.
Building a comprehensive NFT (Non-Fungible Token) app using Alchemy API involves several steps. Alchemy API is a developer platform that provides tools and infrastructure to interact with blockchain networks like Ethereum easily. In this guide, we will create an NFT app using Node.js and Alchemy API to interact with the Ethereum blockchain.
Prerequisites:
Basic knowledge of JavaScript and Node.js.
Familiarity with web development (HTML/CSS).
An Alchemy API account and an Ethereum wallet.
Step 1: Set Up the Project Create a new directory for your project and initialize a Node.js project using npm.
mkdir nft-app
cd nft-app
npm init -y
Step 2: Install Dependencies We'll need several libraries to create the NFT app. Install them using npm.
npm install express web3 @alch/alchemy-web3 dotenv
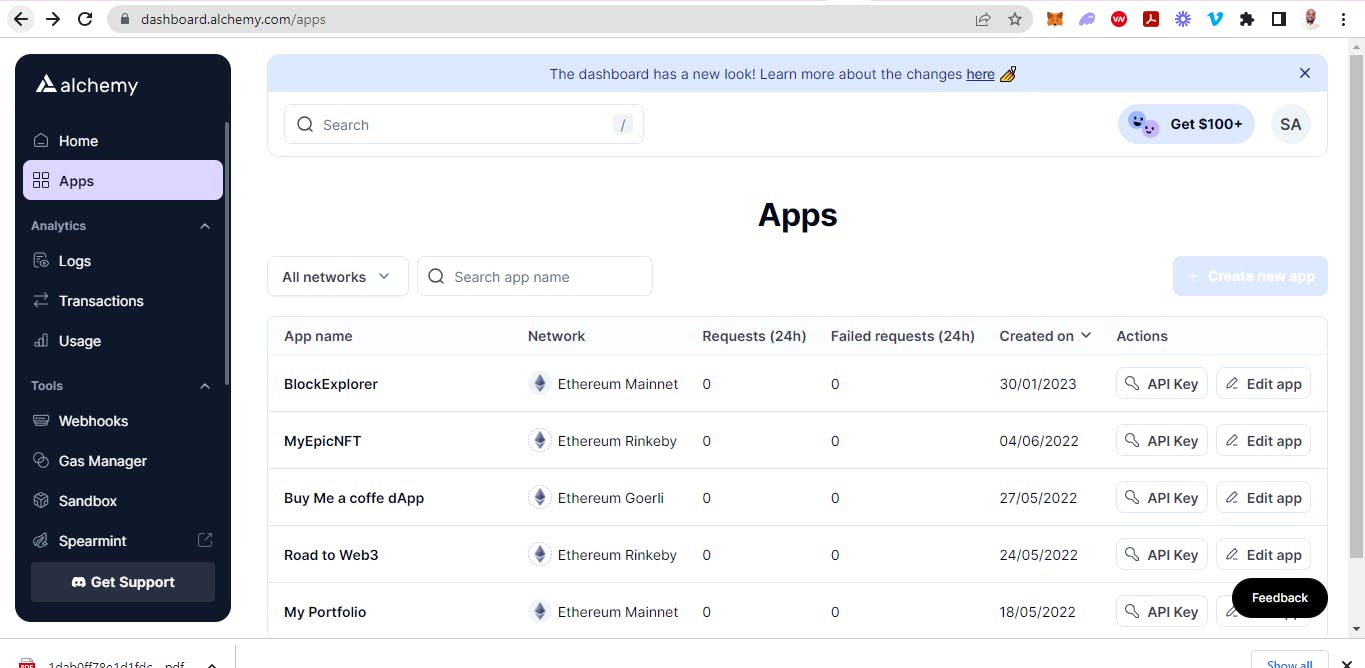
Step 3: Create Ethereum Wallet and Get Alchemy API Key Go to Alchemy's website (https://alchemyapi.io/) and sign up for an account. Create a new Ethereum wallet or use an existing one. You'll also get an API key from Alchemy, which we'll use to interact with the Ethereum blockchain.

Step 4: Set Up Configuration Create a .env file in the project root and add your Alchemy API key and Ethereum wallet's private key.
ALCHEMY_API_KEY=YOUR_ALCHEMY_API_KEY
ETHEREUM_PRIVATE_KEY=YOUR_ETHEREUM_PRIVATE_KEY
Step 5: Initialize Web3 and Connect to Alchemy In your app.js (or whatever you name the main server file), initialize Web3 and connect it to Alchemy API.
const express = require('express');
const Web3 = require('web3');
const { createAlchemyWeb3 } = require('@alch/alchemy-web3');
require('dotenv').config();

const app = express();
const port = 3000;

const alchemyApiKey = process.env.ALCHEMY_API_KEY;
const web3 = createAlchemyWeb3(alchemyApiKey);

// Check if connected to Alchemy
web3.eth.net.isListening()
  .then(() => console.log('Connected to Alchemy'))
  .catch((err) => console.log('Error connecting to Alchemy:', err));

// Add more code here
Step 6: Deploy Smart Contract Create a new Solidity file (e.g., NFT.sol) and write your NFT smart contract. Compile it to get the ABI (Application Binary Interface) and bytecode.
Step 7: Deploy the Contract In the same app.js file, deploy the smart contract using your Ethereum wallet's private key.
// Assuming you have compiled your contract and stored the ABI and bytecode
const contractAbi = ...; // Your compiled contract's ABI
const contractBytecode = ...; // Your compiled contract's bytecode

const contract = new web3.eth.Contract(contractAbi);

const deployContract = async () => {
  const accounts = await web3.eth.getAccounts();
  const account = accounts[0];

  // Deploy the contract
  contract.deploy({
    data: contractBytecode,
    arguments: [/* constructor arguments if any */],
  })
  .send({
    from: account,
    gas: 5000000, // Adjust the gas value accordingly
  })
  .on('confirmation', (confirmationNumber, receipt) => {
    if (confirmationNumber === 1) {
      console.log('Contract deployed:', receipt.contractAddress);
    }
  });
};

deployContract();
Step 8: Create Routes for Minting NFTs Now, let's create routes to mint new NFTs.
app.get('/mint/:tokenId', async (req, res) => {
  try {
    const tokenId = req.params.tokenId;
    const accounts = await web3.eth.getAccounts();
    const account = accounts[0];

    // Call the contract's mint function
    await contract.methods.mint(account, tokenId).send({ from: account });

    res.status(200).json({ message: `NFT with tokenId ${tokenId} minted successfully.` });
  } catch (error) {
    res.status(500).json({ error: 'Failed to mint NFT.' });
  }
});
Step 9: Run the Server Finally, start the server and test your NFT minting routes.
app.listen(port, () => {
  console.log(`Server is running on http://localhost:${port}`);
});
Step 10: Test the App Use a tool like curl or Postman to make GET requests to your minting route and see if the NFTs are being minted successfully.
curl http://localhost:3000/mint/1
Step 11: Add Transaction Handling To handle transactions, we'll create a route to transfer ownership of an NFT from one account to another.
app.get('/transfer/:tokenId/:to', async (req, res) => {
  try {
    const tokenId = req.params.tokenId;
    const to = req.params.to;
    const accounts = await web3.eth.getAccounts();
    const from = accounts[0];

    // Call the contract's transferFrom function
    await contract.methods.transferFrom(from, to, tokenId).send({ from });

    res.status(200).json({ message: `NFT with tokenId ${tokenId} transferred to ${to} successfully.` });
  } catch (error) {
    res.status(500).json({ error: 'Failed to transfer NFT.' });
  }
});
Step 12: Create a Basic Frontend For the frontend, we'll create a simple HTML page with JavaScript to interact with the app.
In the project root, create an index.html file with the following content:
<!DOCTYPE html>
<html>
<head>
  <title>NFT App</title>
</head>
<body>
  <h1>NFT App</h1>

  <button id="mintButton">Mint NFT</button>
  <br>
  <label for="tokenId">Token ID:</label>
  <input type="number" id="tokenIdInput" min="1" step="1">
  <button id="transferButton">Transfer NFT</button>

  <script>
    const mintButton = document.getElementById('mintButton');
    const tokenIdInput = document.getElementById('tokenIdInput');
    const transferButton = document.getElementById('transferButton');

    const mintNFT = async () => {
      const tokenId = tokenIdInput.value;
      const response = await fetch(`/mint/${tokenId}`);
      const data = await response.json();
      alert(data.message);
    };

    const transferNFT = async () => {
      const tokenId = tokenIdInput.value;
      const to = prompt('Enter the recipient address:');
      if (to) {
        const response = await fetch(`/transfer/${tokenId}/${to}`);
        const data = await response.json();
        alert(data.message);
      }
    };

    mintButton.addEventListener('click', mintNFT);
    transferButton.addEventListener('click', transferNFT);
  </script>
</body>
</html>
Step 13: Serve the Frontend Add a route to serve the frontend HTML page.
app.get('/', (req, res) => {
  res.sendFile(__dirname + '/index.html');
});
Step 14: Start the Server Update the server's code to include the new route and start the server with the updated code.
const express = require('express');
const Web3 = require('web3');
const { createAlchemyWeb3 } = require('@alch/alchemy-web3');
require('dotenv').config();

const app = express();
const port = 3000;

const alchemyApiKey = process.env.ALCHEMY_API_KEY;
const web3 = createAlchemyWeb3(alchemyApiKey);

// Your contract initialization and deploy code here...

app.get('/mint/:tokenId', async (req, res) => {
  // Your minting route code here...
});

app.get('/transfer/:tokenId/:to', async (req, res) => {
  // Your transfer route code here...
});

app.get('/', (req, res) => {
  res.sendFile(__dirname + '/index.html');
});

app.listen(port, () => {
  console.log(`Server is running on http://localhost:${port}`);
});
Step 15: Run the App Save all the changes, and start the server using the following command:
node app.js
Visit http://localhost:3000 in your web browser. You should see the basic front end with two buttons: "Mint NFT" and "Transfer NFT." Enter a token ID, click "Mint NFT," and you should receive an alert confirming the minting. Similarly, try transferring an NFT by entering the token ID and recipient address.